Monday, March 28, 2016

Cowling.. Pants. Farings


The finishing kit is coming together now.  Van`s should be shipping our firewall forward kit this week. 


                                      Installing hinge closures to gear leg fairings


 Fitting gear leg and wheel faring and top and bottom intersection faring to fuselage.


 Molding the intersection fairings to wheel fairings and fuselage with epoxy and cotton flox after applying release agent


                  Final trimming and fitting after nut-plates and capture nuts are installed


                          High solid urethane paint is applied to inside of cowling 


                                         Remaining interior parts are painted


Cowling gets first coat of epoxy sanding primer then is block sanded ,pinholes filled , 2nd coat of primer and 2nd block sand . Ready for paint
 Landing gear parts get first coat of sanding primer after all are sanded and de glazed 


Pin hole city ,,, all of the gear fiberglass parts received a total skim coat of epoxy micro mix and were sanded after cure then back for a second coat of sanding primer . Painting is 95% prep work
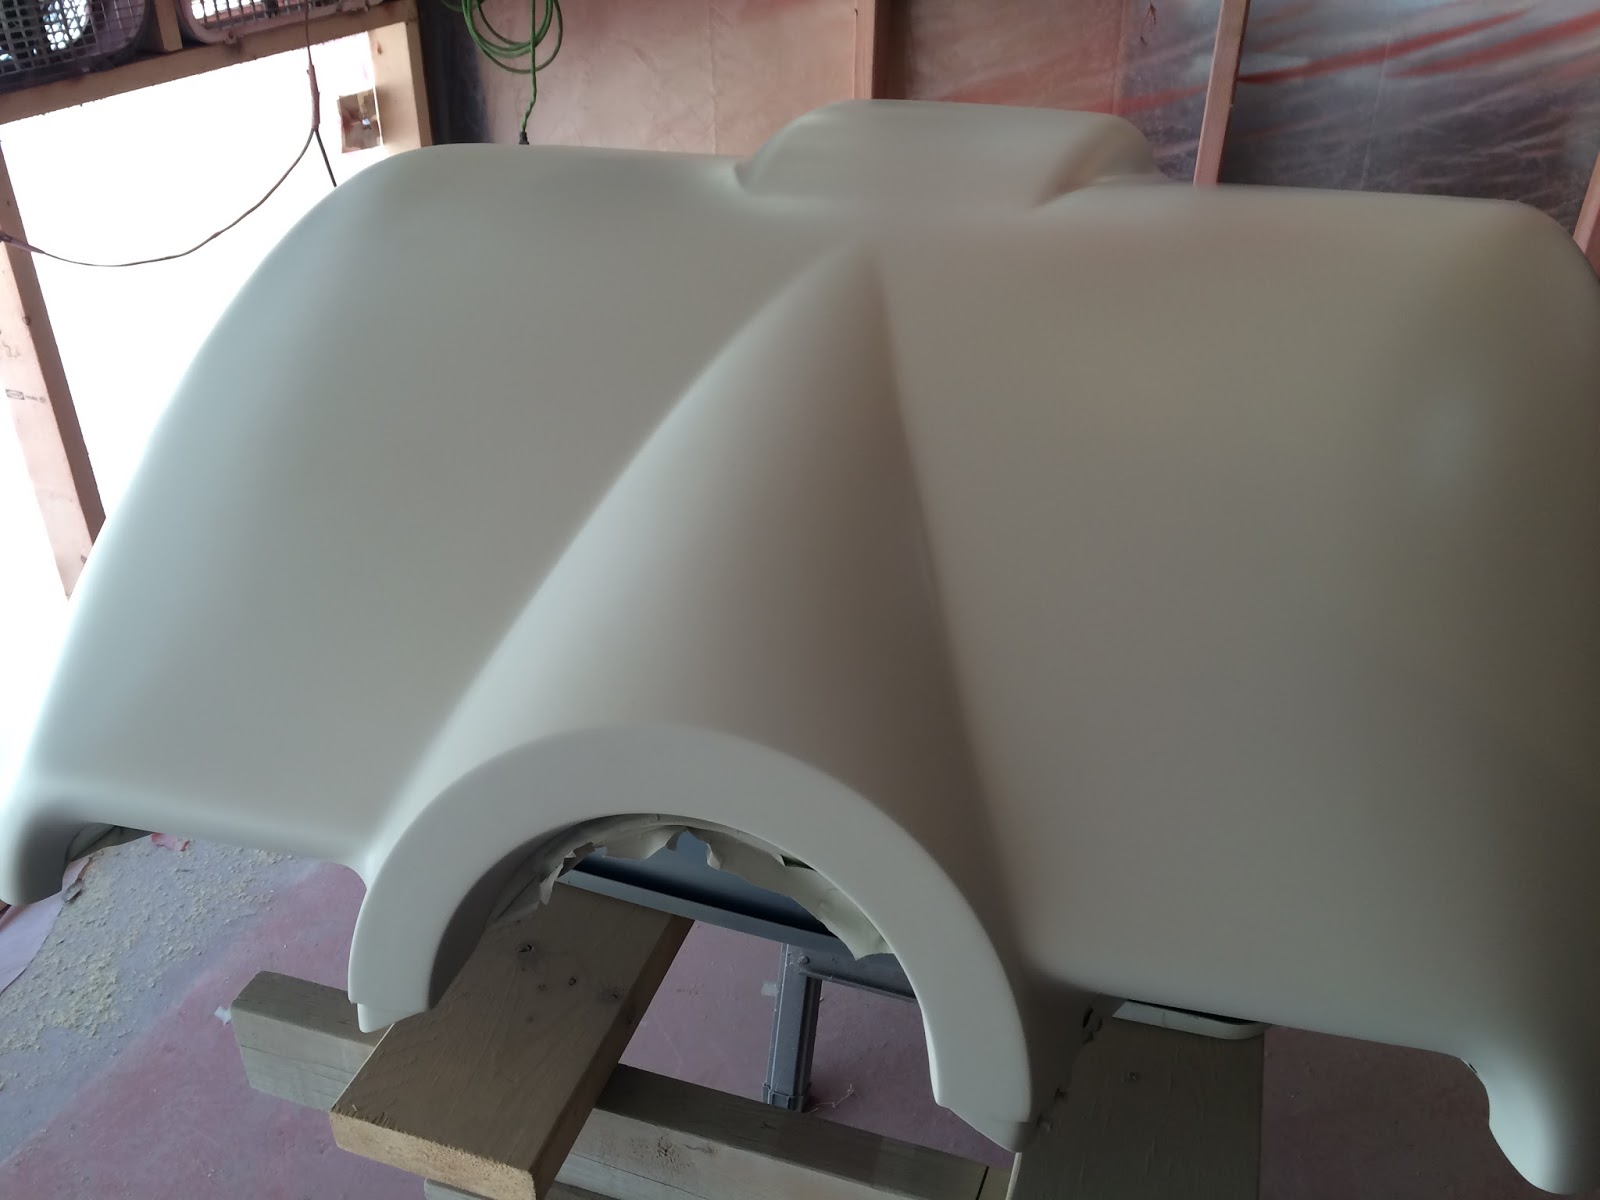
     Cowling gets Painted with White base-coat


Cowling installed on the aircraft , the next step will be to apply the red and black . We will be using the factory layout but with white, red and black instead of white , blue and black

Thursday, March 3, 2016

Wheel Pants and Cowling work


Fitting the wheel fairings together and making initial cuts


 Leveling the aircraft for wheel fairing fitting


Fairings are fitted and ready for final drilling

Air inlet ramps are fitted to top cowling


Air inlet ramps are glued in place and edges are molded and feathered with epoxy micro mix


Oil door is fitted and installed

Sunday, February 14, 2016

Cowling Fittment


In this update, we begin fitting the cowling. 


Rough fitting of the cowling top to bottom . The top and bottom have been cut to the scribe lines , this gets the close to final fit . The mating edges are now sanded removing small amounts of material to get to the finish fit . This process requires a lot of assemble , mark , sand, reassemble and so on. Only small adjustments are made here ( aim small - miss small )


 Fitting the cowling to fuselage . Same process as above make small adjustments as you go . The cowling will come off and back on many times before you get the fit you want . The space behind the back spinner bulkhead is 1/8 at the top 3/16 center and 1/4 at the bottom , this gap will even out during the first 100 hrs of operation as the engine settles in the mounts .


 The rivet locations are transferred from the fuselage to the cowling and #40 holes are drilled in the fiberglass . Holes are then drilled into the underneath hinges . Parts are then dissembled countersunk and a coat to epoxy applied to the inner cowling surfaces . 

All hinges are riveted to cowling