 |
| I love my DRDT2 dimpler. |
 |
| Here, I am dimpling a horizontal stabilizer skin. |
 |
| Countersinking Horizontal stabilizer spars. I must have countersunk a gazillion holes! |
 |
| Rudder counterweight all installed. |
 |
| Remember to add lock tite, so that one day the screw doesn't loosen up and interfere with your rudder operation. |
 |
| Very satisfying results on the rudder stiffener back riveting project. |
 |
| I LOVE back-riveting! |
 |
| Took a break from building to travel to the Peach State Aerodrome to see the Curtiss Jenny that my friends Brian Karli (right) and Ron Alexander just finished restoring. They could have built a squadron of RVs in the time they spent over the last 6.5 years, along with lots of volunteer help, restoring this important historical aircraft. Although my private pilot son Zak was invited to occupy the cockpit, he did not get to fly. Phase 1 test flying is just starting. |
 |
| It's tough to pull Zak away from the Co-eds in Athens Georgia, but a chance to see the Jenny fly did it! |
 |
| Countersinking the rudder trailing edge. |
 |
| Rudder stiffener in its' natural habitat. |
 |
| A rudder skin in its' prime! |
 |
| Rudder skin all clecoed up and ready for match drilling, deburring , scuffing, cleaning and priming. |
 |
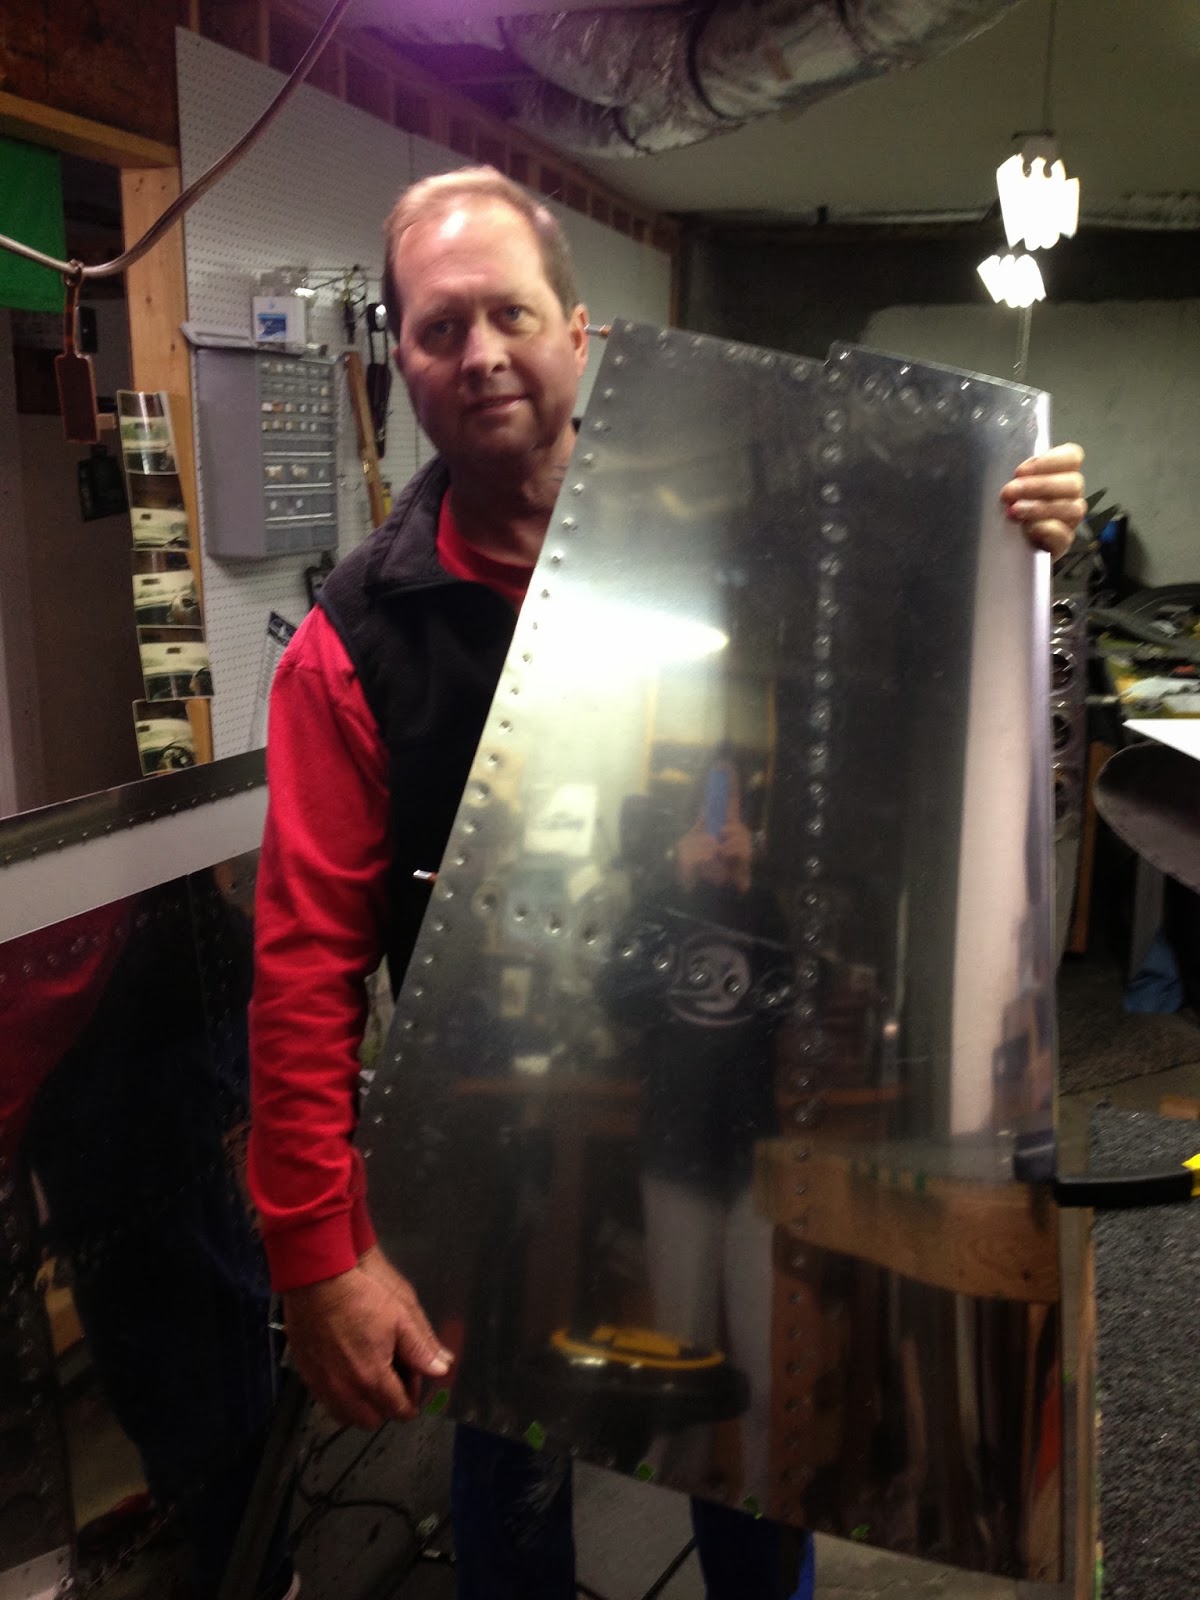
| Trying out my new Cleveland tool edge brake tool. I like it. This is the trailing edge of the rudder skin. |


 |
| Deviating from the plans! Rather than having ugly pop rivets visible on my wingtips, I decided to epoxy the tip rib into place. I will then add a strip of fiberglass over the flange, and onto the inside of the tip. |
 |
| Whelen LED Position/Strobe light in position. |
 |
| Lightweight auto parts store universal rear view mirror material will add efficiency to the nab/strobe lights. |
 |
| Left tip nutplates are installed. |
 |
| Countersinking fiberglass is not my favorite thing. |
 |
| That's right, the nutplates are on the wrong side....just for drilling the rivet holes. There are 40 something nutplates per wingtip, 3 holes per nutplate. That's a lot of drilling and countersinking! Dulled some tools for sure! |


 Wingtip day. Got tired of riveting, so decided to fool with the left tip today. First I trimmed the flanges, as directed by the instructions. Next I rigged the aileron to neutral, taped the tip on, and snugged it up with a strap.
 Next I marked the areas that flexed too much once attached to the wing. Stiffeners will be added inside for some lightweight strength.


