Dispite some mixed feelings about how long the finishing kit is taking to come out, it was still nice to hear from Van`s about the progress. This is one of the photos they posted on their Facebook page. It is nice to finally see a tailwheel prototype! Makes is easier to visualize what ours will look like.

***Note this is not my photo.. it belongs to Van`s aircraft***
Anyway, back to our build!
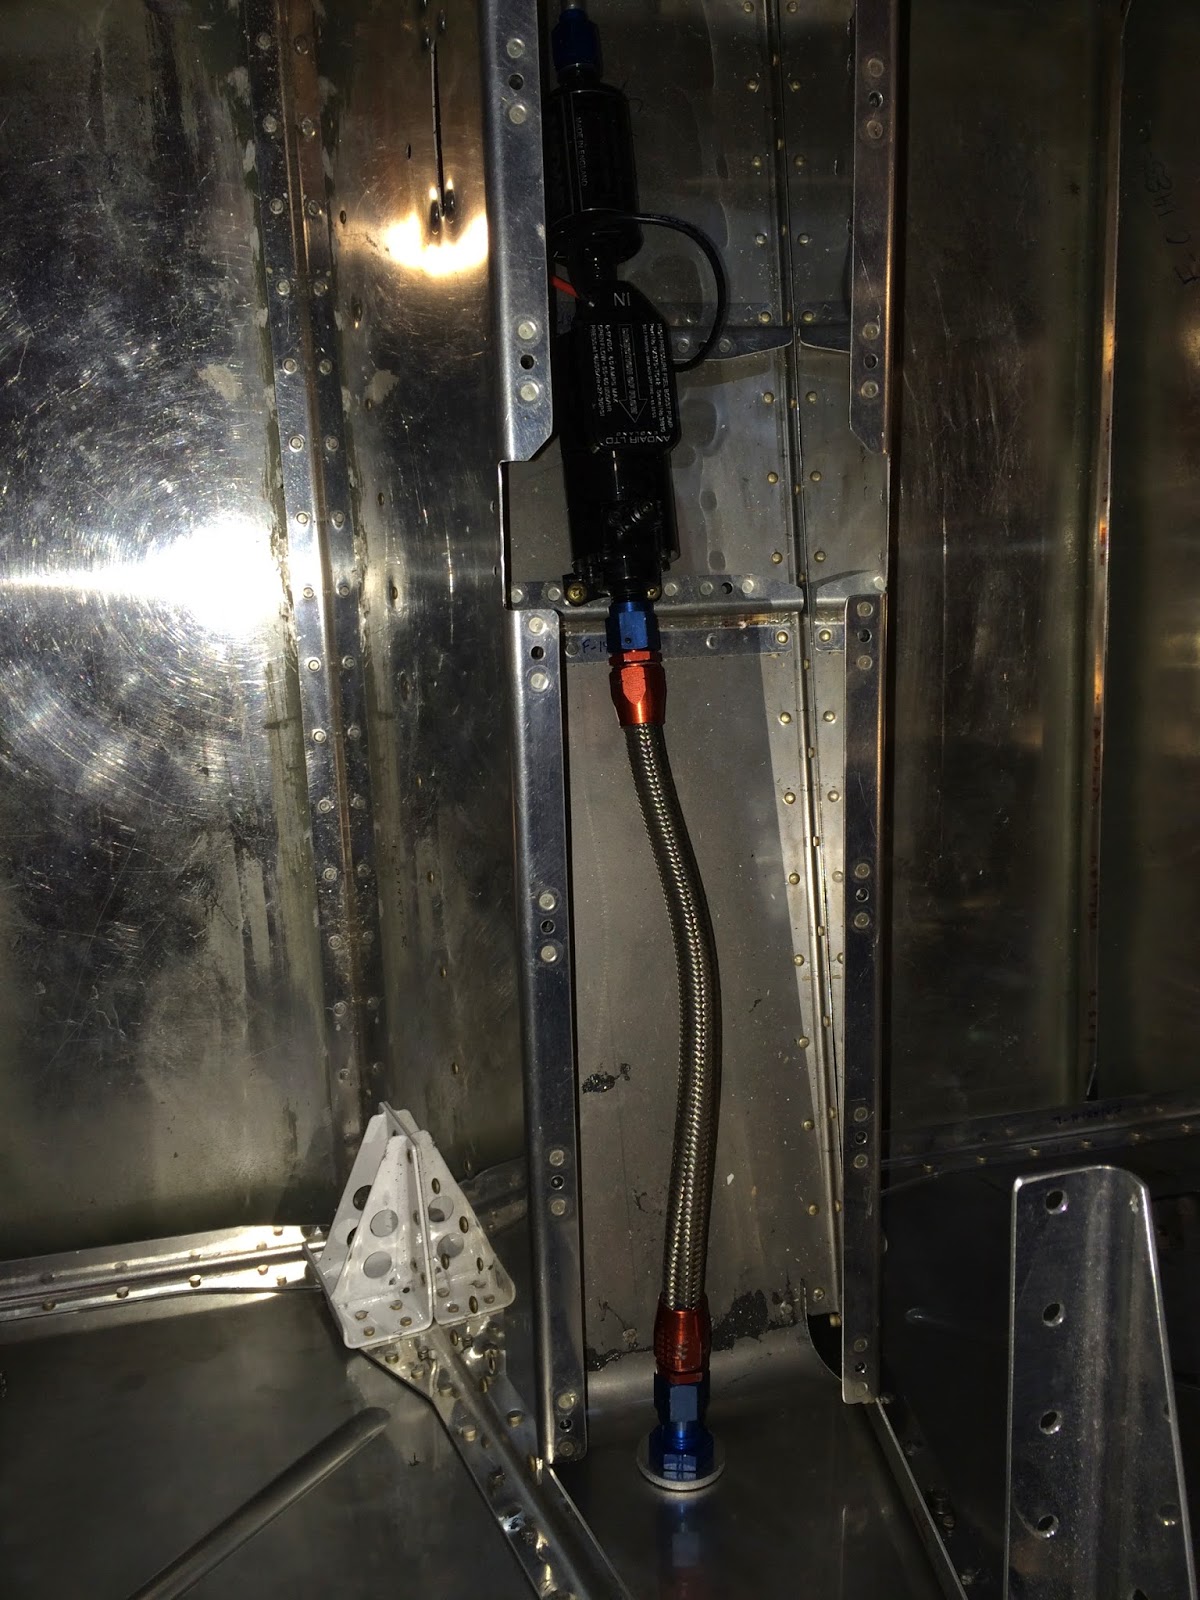
I did an upgrade to the fuel pump to firewall fuel
line . Vans call out is for soft aluminum tubing, the same that is used from
the selector valve to the outboard sides on the suction side of the system .
This end of the system is on the pressure side of the pump . With the big
Lycoming doing the wet dog shake on shut down I will feel better about this
setup . This is the fittings and hose that is used on the engine side of the
firewall with fire sleeve.

Flap control shaft brackets are fabricated and installed.

Flap control shaft brackets are fabricated and installed.
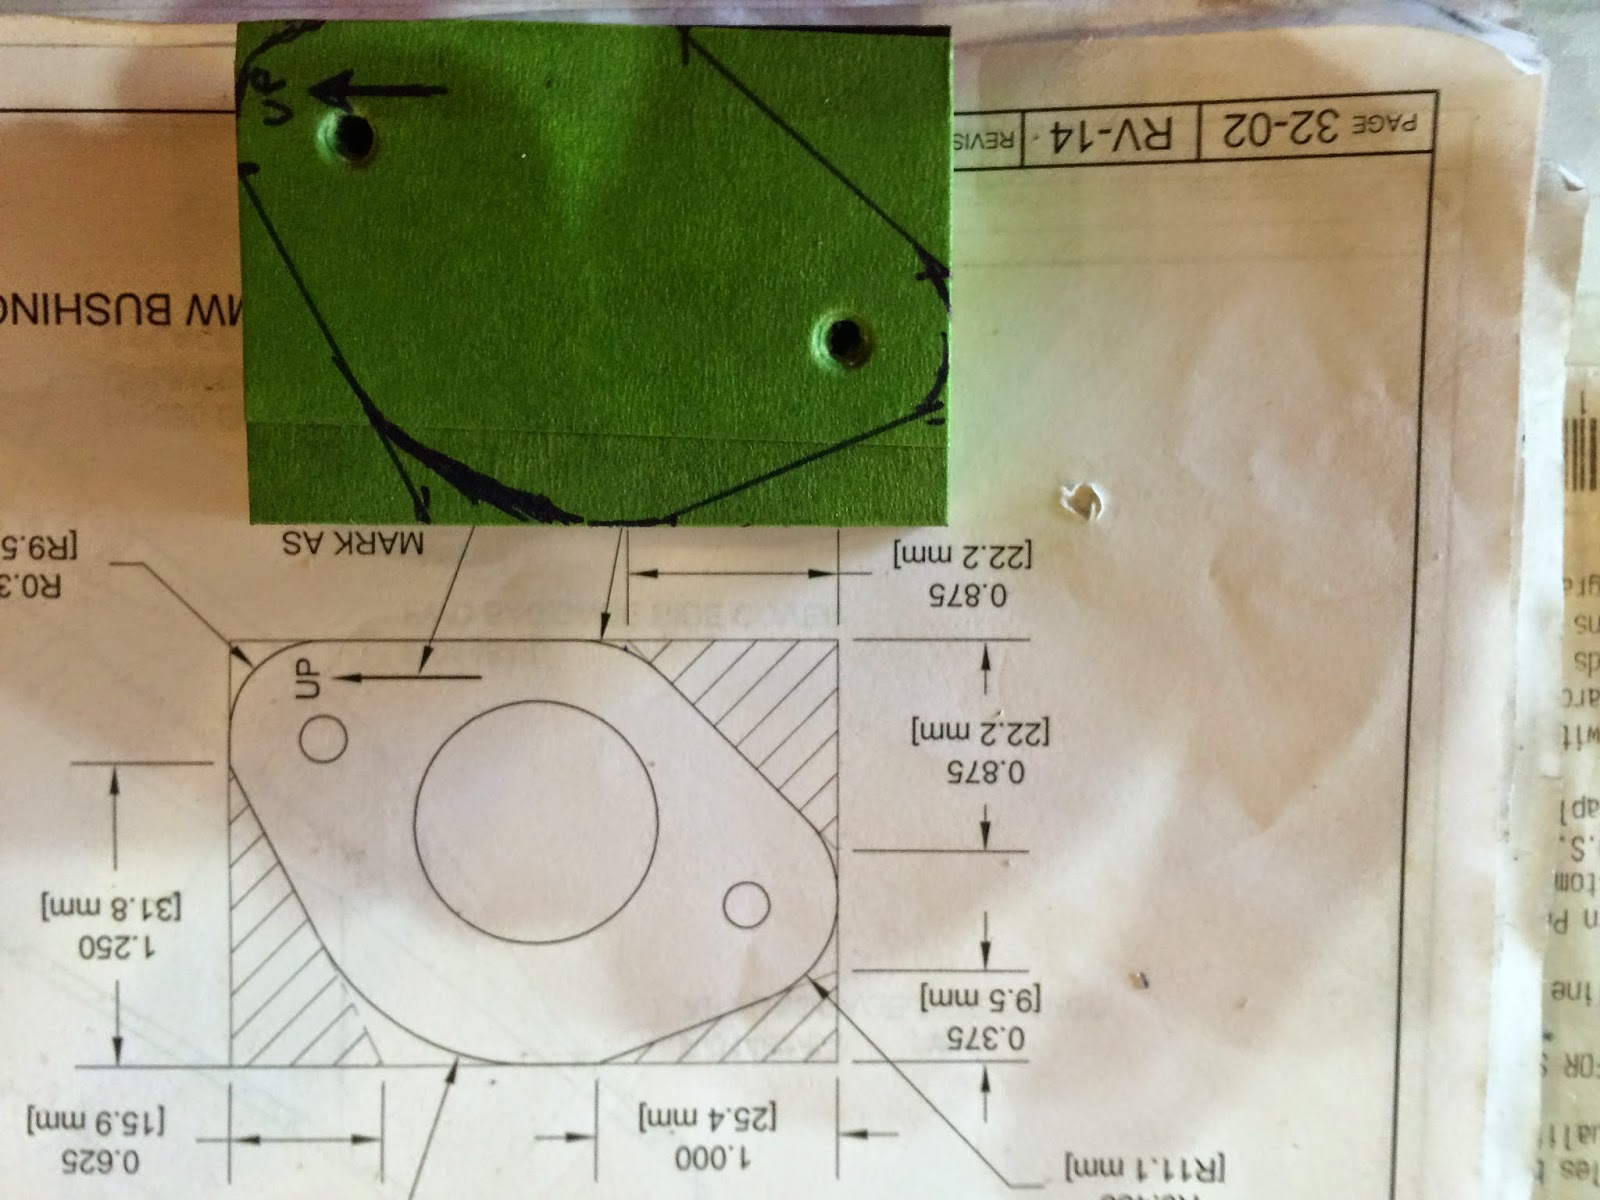
Flap control shaft brackets are fabricated and installed.

Flap control shaft brackets are fabricated and installed.
.JPG)
Baggage floor panels are prepared for installation
.JPG)
Baggage floor panels are prepared for installation
.JPG)
Baggage floor panels and baggage side panels are riveted in . How many
pop rivets ,,,, a Gazillion and a half!

Baggage floor panels and baggage side panels are riveted in .

Assembled rudder pedals
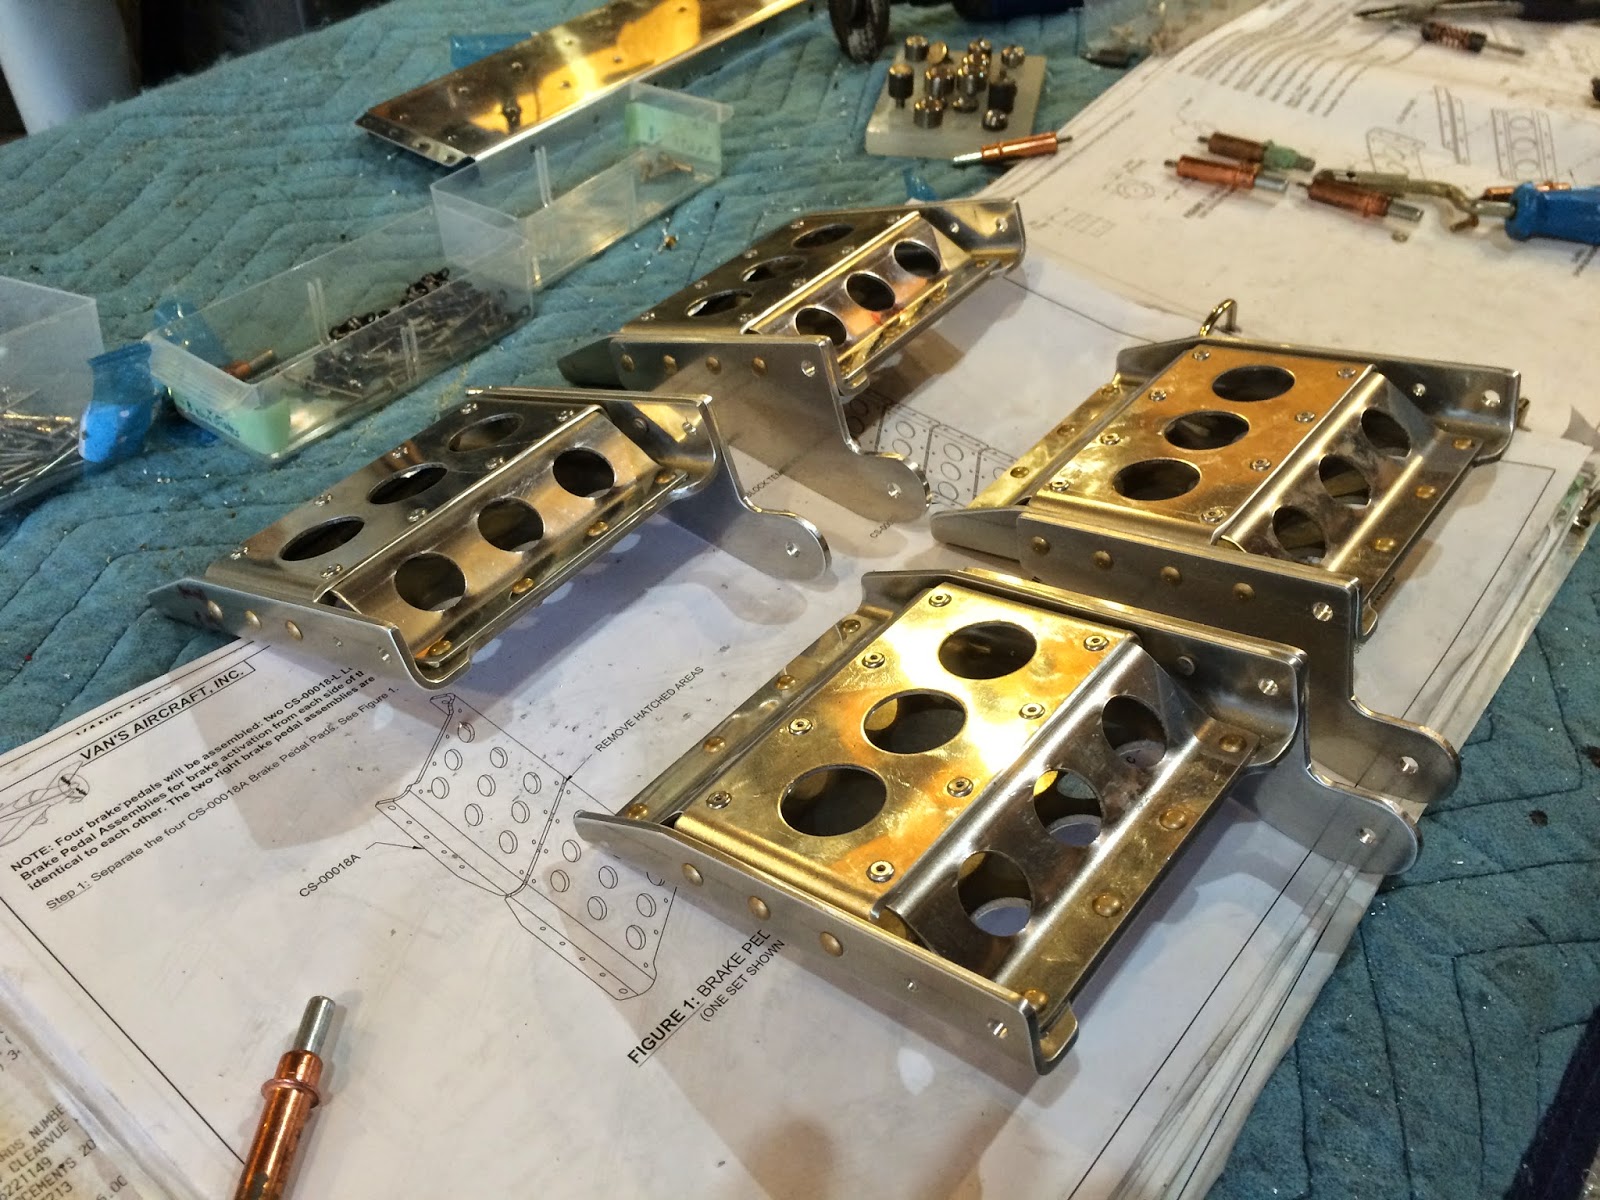
Assembled rudder pedals

Baggage floor and side panels are complete and flap motor brace and seat
back hinge brackets are installed .

Baggage floor and side panels are complete and flap motor brace and seat
back hinge brackets are installed .

Baggage floor and side panels are complete and flap motor brace and seat
back hinge brackets are installed .

Baggage floor and side panels are complete and flap motor brace and seat
back hinge brackets are installed .

Baggage floor and side panels are complete and flap motor brace and seat
back hinge brackets are installed .
We are going to stop construction at this point and paint the interior .
Rudder pedal and brake system installation to begin when paint has a 24 hr
cure time .


