 |
| RV14 Knife edge to accommodate some riveting. |
 |
| Tailwheel spring mount! |

 |
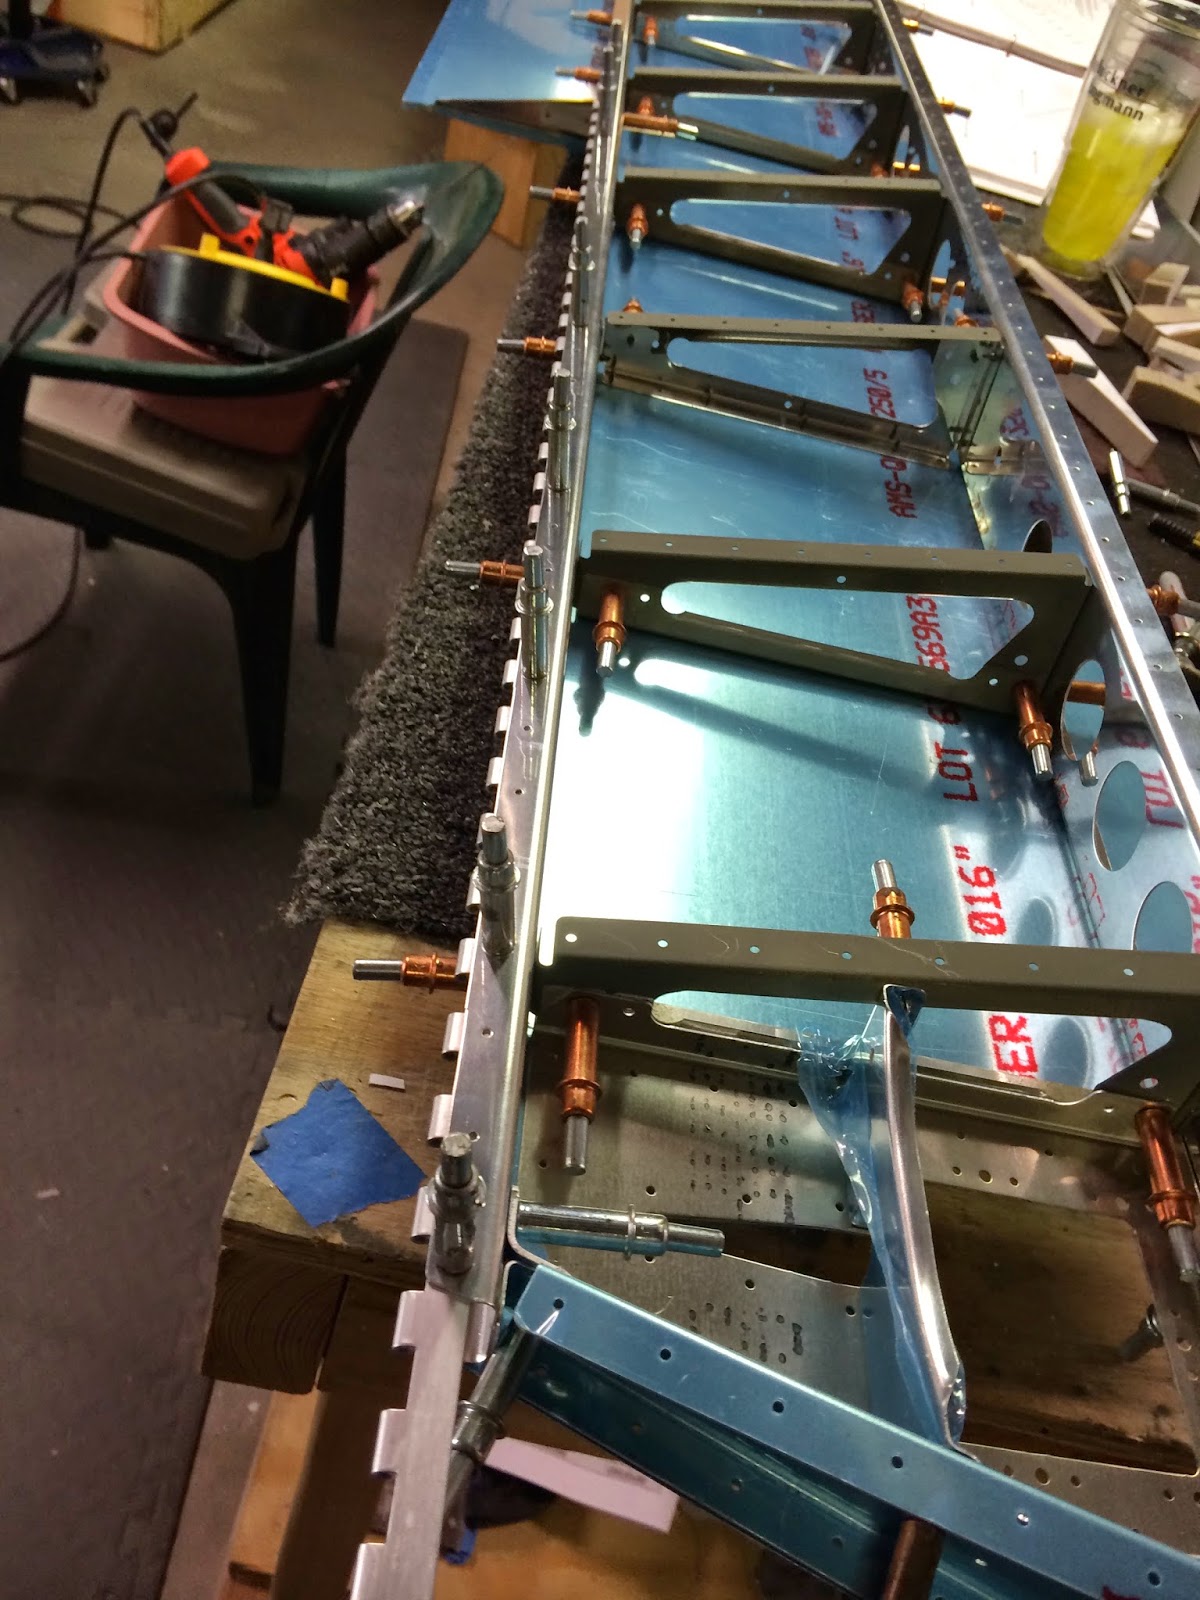
| Basement is getting smaller! |
 |
| Starting on the tailcone. This bulkhead is match drilled and deburred and dimpled. |
 |
| Elevator counterweights are installed. |
 |
| Elevators are fun. |
 |
| Ready to rivet! |
 |
| This is how I rooooollllll...elevator leading edges. |
 |
| I inherited my Uncle's WWII bomber jacket...the real deal! |
 |
| My Bücker buddy Jerry was in town so we went to visit John Downing and his amazing Jungmann. |
 |
| This is where the RV will be based one day. |
 |
| Weight is added to the aft elevator skins to keep everything in contact while the pro seal dries for a few days....taking Memorial Day weekend off from building. |
 |
| After applying pro seal to the foam elevator aft ribs, and 3M tape to the trailing edge wedge, I clecoed the trailing edge together. |
 |
| Here I use a special bucking bar, specially situated to rivet the Elevator skin to the spar. |
 |
| Here I attach an elevator skin on the right elevator. |
 |
| Elevator trim tab complete. |
 |
| Here I rivet the elevator tip ribs together. |
 |
| Weight to hold the trim tab together while the proseal on the ribs cures. |
 |
| Clecoing the trim tab actuator doubler. |
 |
| Dimpling the elevator trailing edges. |
 |
| Looks can be deceiving. The elevators go together for match drilling, then come apart for debarring, scuffing and priming. So I get to assemble them twice. |
 |
| Installing pulled rivets in the HS rear spar. I love this pneumatic pop rivet gun. And I didn't go crazy. $80.00 from Northern! |
 |
| Hiding out! |

 |
| The Horizontal Stabilizer went together fairly quickly. |
 |
| HS skin goes into the cradle. |
 |
| The Horizontal Stabilizer going together. |
 |
| Here I countersink a HS spar. |

 |
| This is REAL airplane building. Brian Karli and Richard Epton hand form a Sopwith Camel cowl. No pre punched holes here! |


